Viser innlegg med etiketten Buttons. Vis alle innlegg

tirsdag 19. september 2023

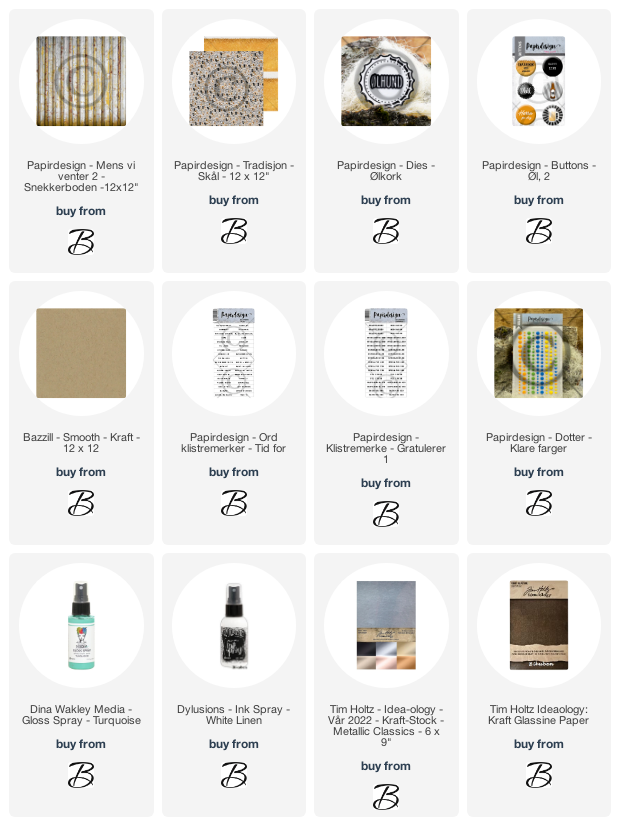
Skål! - Ølkort DT Papirdesign

Endelig nye ølark fra Papirdesign! Det er så stas for en ølbrygger som meg selv. Er så moro når man finner noe som er så tradisjonsrikt her i landet som øl på ark og dekor. Jeg har lagd et kort til en øl entusiast.


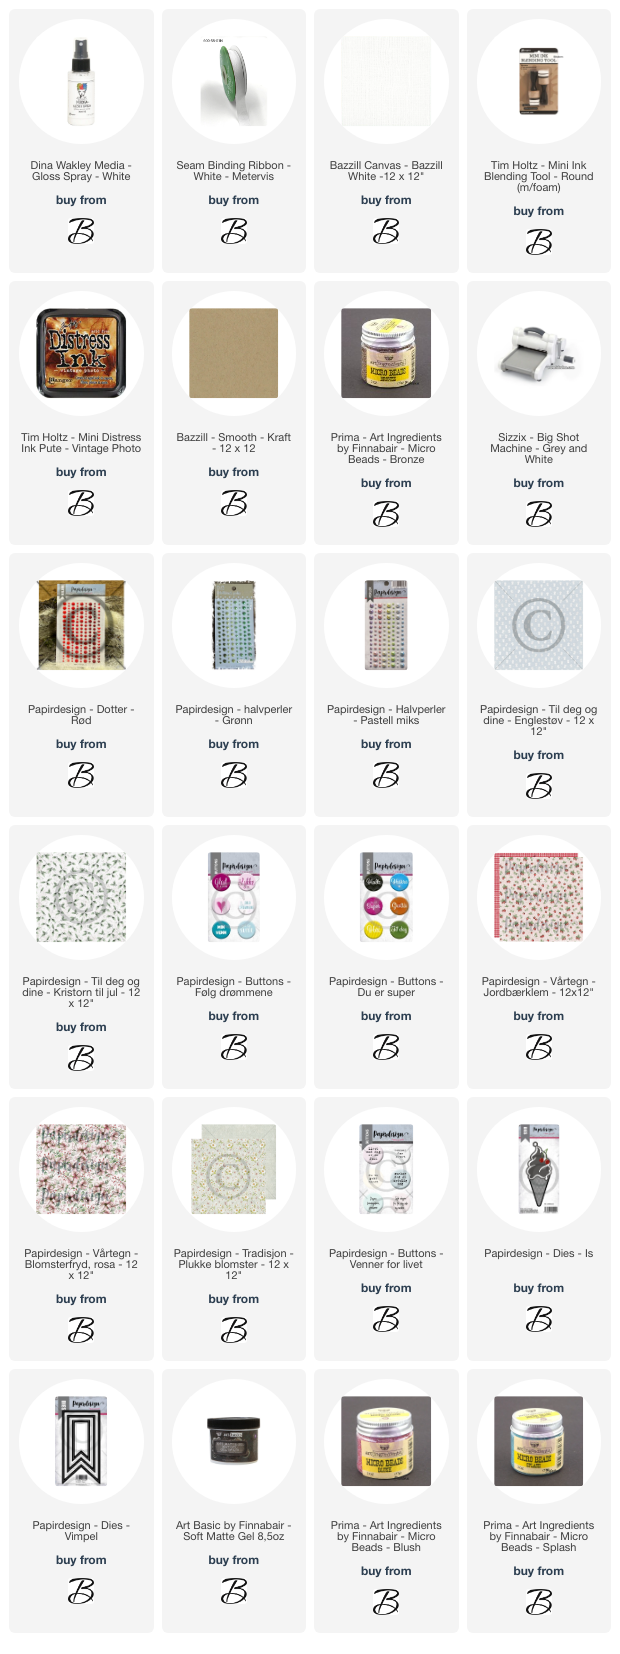
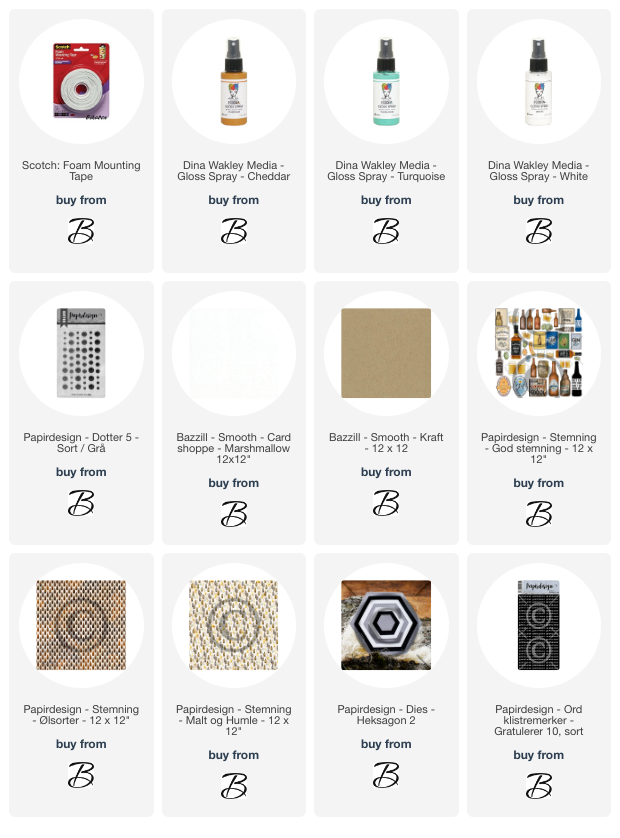
Har splattet bakgrunnen litt med Dina Wakley Gloss Spray. De fleste elementene har blitt festet på med foam tape. 

Lag deg selv en vidundelig tirsdag! Snart digitreff dere! :)
Scrappeklem fra Yasmin


tirsdag 11. juli 2023

Iskrem - tag!

Hva er mer sommer en iskrem? Jeg har brukt ett design og laget 3 forskjellige farge versjoner av den samme tagen. Et lite tips er å se på baksiden av arkene dine, du kan finne skatter å bruke blant annet julearkene også. Her har jeg brukt 2 juleark til å lage tagene mine. Jeg har kost meg med papirdesign produkter :) 


Det er super lett å lage strøssel til isen. Bland forskjellig farger av microperler og bruk litt gel medium til å lime de på. Mediumet jeg har brukt, tørker matt, slik at du får noe strøssel lignende utseende.


Lag deg selv en nydelig kreativ dag!
Scrappeklem fra Yasmin 


tirsdag 21. februar 2023

Happy Life - Ølkort - DT Papirdesign

 Er det noe jeg synes er så gøy, det er å lage kort til mannfolk, eller kvinnfolk som liker øl! Jeg tok frem litt eldre dies og papirer Papirdesign - matchet de sammen med de nye ølbuttonsene og VOILA! et nytt ølkort :) 


Lag deg selv en nydelig tirsdag! :)
Scrappeklem fra Yasmin


tirsdag 27. juli 2021

Sommerlykke med is - DT Papirdesign

Jeg må si at disse nye diesene som kom med sommer nyhetene til Papirdesign, har raskt blitt en av mine favoritt dieser. Isen er bare fantastisk! Jeg deler et kort med nye ark og såklart den nye isdiesen, begge fra Papirdesign! 


Jeg har brukt embossingpulver og perler for å etterligne strøssel på isen. 

Produkter kjøpt på Bikuben: 
Ark: 
Dies:
Dekor:
Medier: 


Håper alle nyter sommeren hvor enn du er! 
Scrappeklem fra Yasmin 

mandag 10. mai 2021

Binderskort - DT Scrapboys

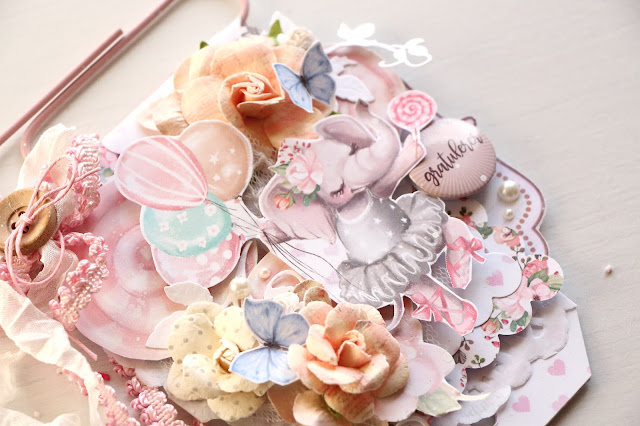
God mandag alle sammen! Farsotten binderskort har rast over scrappemiljøet en stund, men jeg har igjen å laget ett.. til nå! :) I dag deler jeg mitt første binderskort med produkter fra Scrapboys. De nyeste kolleksjonene til Scrapboys har vakre, søte ballerina i alle former og jeg falt helt for elefanten. 

Disse figurene er perfekt å klippe ut, og jeg har brukt elementer fra serien "Sweet Ballerina".


Mye lag på lag på dette kortet med blomster og blonder. Det synes jeg er veldig stas å lage. 

Produkter brukt på kortet mitt: 
Ark: 
Dies: 
Dekor: 

Jeg deltar i disse utfordringene med binderskortet mitt: 

Jeg håper du får en nydelig dag! 
Scrappeklem fra meg


søndag 4. april 2021

En liten blidfis - Layout - DT Papirdesign

 Det er første søndag i ny måned, og det betyr ny utfordring hos Papirdesign. Denne måneden er tema "Vårfølelse" og jeg har laget en layout med en blid liten kar som leker seg ute. Det gir meg vårfølelse! :)


Jeg har brukt masse fine nyheter fra Papirdesign, blandt annet dies, ark og buttons. 


Layouten er laget på hvit bazzill. Jeg brukte en stencil fra Prima til å lage litt liv i bak bildet, samt splashet med litt colorbloom spray. Solen er sprayet med Color Bloom og farget med distress ink. 


Produkter kjøpt på Bikuben: 
Ark
Dies
Dekor
Medier

Bli med å delta i Papirdesign sin herlige vår utfordring, og vinn deg flotte nyheter! Håper du har en nydelig søndag! 

Scrappeklem fra Yasmin

fredag 11. august 2017

Steampunkish Card - DT Maya Road

Heellloo!! Finally something is happening on my blog, twice in a week! That's not to shabby. Today I have a Steampunkish card to share with you. I made this card AGES ago for Maya Roads CHA. But I taught today was a good day to share it. I haven't shown it anywhere else before today.

I used papers from Fleur Design on this card, love those papers. It hurt a bit to cut in them. Hahaha.. I used my sewing machine and stitched around the egdes. Added some layers with Maya Road tags and used modeling paste on top.

I made a fun face by using Maya Road glasses and moustache on top of the lightbulb. I also added a button and lightbulb transparency. On top I splashed abit with glimmer glam - stiletto from Tattered Angels. On top of the glasses and moustache I added a bit of Inka Gold - Old Silver.

I'm joining in these challenges with my card: 


Thank you so much for stopping by my blog today! So happy you where here :) 


fredag 21. april 2017

You and Me - Bingo! Layout - DT Scrapberry's

Hello Everyone! It's tutorail day over at the Scrapberry's international blog and I'm on the video team and of course I have a video for you today! In my last video post for Scrapberry's I played around with the Stain's Ink pads (you can find my post here) and I wanted to play some more with them, so I made a layout and a watercolor background playing with the Stain's Inks.


The pads has a beautiful vibrant color. The stickers on the pads "lies" a bit so I do recommend trying them out on a scrap piece of paper before applying to the project.

I have to say I really love the effect the pads had on my page, the flowed just as I wanted and made this flowy effect. I stamed a bit and splashed aswell to finish the background work. The papers added are from Scrapberry's "You and Me" collection on I also stamped with a prima flower stamp. Would you like to see how I made this layout please check out the video below.


I had so much fun making this page adding all the little details.. 

I added these beautiful metal trinkes from Scrapberry's - the clock face and the together metal embellishement witch was kinda perfect for my page. 

The triangles are chipboards from Creative Embellishements. Those I really love. The Flair button are from Scrapberry's "Happily ever after" Collecction and was just the perfect color and sentiment. 

I'll be joining these challenges with my layout: 

Thanks for joining me today. For more inspiration with Scrapberry's products please head on over to their blog. Have a fantastic day everyone. ~ Yasmin

tirsdag 21. mars 2017

Don't forget to Smile - Card - DT Scrapberry's

Hello Everyone, it's my day over at Scrapberry's and we have started something new there. Every 7 days, you will get a video tutorial showcasing all the awesome stuff Scrapberry's has to offer. I made a video tutorial about how you can use the Scrapberry's Ink Stain stamp pad to create backgrounds to your cards.
I've used the "Forest Friends" collection for my card along with stamps for the "PhotoArchive".


And as promised I made a video tutorial on how I put together this card. I hope you like it.


The Stains ink has loads of great uses, you can spritz them with water and get an awesome look. Maybe that's something for my next Scrapberry's tutorial. 

I'm joining in these challenges with my card: 

Thank you so much for stopping by my blog today and if you'd like to see some more fun projects using Scrapberry's products, please head on over to the blog. 

onsdag 22. februar 2017

Special - Layout - DT Scrapberry's

Hello my lovelies! Yesterday it was my turn over at the Scrapberry's blog. I made a layout this time I would like to share with you:


I used the "Words Live Forever" collection from Scrapberry's and some bits and pieces from the "Primavera" collection. I aslo added some old bookpages and doilies.

I started my page with embossing some starts with a stamp from Northstar Stamps. I used white ink to add the script with another background stamp, but this one is from Prima. I splattered some white dylusions ink and some glimmer glam "Rockin on Sunshine" to add some more interest.


I ended up not using any flowers on this, just paper embellishment, rhinestones and resins. All from Scrapberry's. Do you spot the super cute flair button?

The resin are from an older Scrapberry's collection, but you could still get them. It's from the "Vintage Circus" collection. I think the carousell was cute as my little Finnley is sleeping in my lap.

Thank you so much for stopping by my blog today, for more inspiration with Scrapberry's products. Please go check out the blog. Hugs!

tirsdag 7. februar 2017

Lollipop Card - DT Wild Orchid Design

Hello hello everyone! Yes! You read it right! I've joined the Wild Orchid Design team and today is my first post for them. I've made a lollipop card for the first time using the brand new "Love Clippings" collection from Prima and Frank Garcia.

I've never made a lollipop card before but I was so much fun to make. I added a bunch of those sweet little Wild Orchid Roses with I LOVE and can't create without. They are pretty much perfect to tuck into small places.

I made this as a valentineish project with the heart and the text on the stickers from the Prima paper collection. The handle I bought at Korthobby.no. Just awesome metals.

I made an inside to the card aswell, you just pull the handle to lift it up, and added the "U are my world" sticker. It fitted perfectly.

Aren't these flowers just soo gorgeous?
I'm joining in these challenges with my card:


Thank you so much for joining me on my blog today. Make sure to stop by the Wild Orchid Blog for more flowery inspiration :) 


tirsdag 12. juli 2016

Wall Hanging Piece - DT Flying Unicorn

I haven't really showed you all the projects I did for the July Kit for Flying Unicorn. So I thought this day would be a good day to share a project. I made a wall hanging piece using an album canvas page from Prima.

I fell in love with this photo right away. It's my friends daugther I was so lucky to get to have a photography session with after her confirmation. It looks like a picture that could have been taken 100 years ago. The products are 49 and Market that came in the July Kit from Flying Unicorn.

So the stick came in the kit and I thought it would be awesome to hang the canvas page from. I misted with the tea stain mist that came in the kit, splatted with the coral mist and I stamped with a background stamp. Added strips of papers to create a fun background.

I fuzzy cut the butterfly out from papers in the kit, the flowers are also from the kit, 49 and market.


The red flowers are from Papirdesign. Those are soo gorgeous. I dried brushed them with gesso and added some sewing thread.

Thank you so much for stopping by my blog today. Would love to hear what you think..

tirsdag 21. juni 2016

Baby Mini Album - DT Scrapberry's

Hello Lovelies! Today I have a little mini album I've made with Scrapberry's papers and embellishement. It nothing fancy this time, but a it's a great gift to someone who just had a baby and it's possible to alter it more with photos and embellishments.

I've used the paperline perfect for babies called "Sweet Dreams". Look at the cute button with the litte cat. All the papers, flowers and buttons are Scrapberry's. Here's the front cover.

This album is a envelope album, I used an 3in1 punchboard from We R Memory Keepers and punched out envelopes in a size I like and put them together for a sweet little mini album.

Here are some of the inside pages: 
I've made small pocket inserts so it's possible to add some extra pictures and text. 


Thank you so much for stopping by my blog today and I would love to hear what you think about it. 


mandag 2. mai 2016

Hello Card - DT Maya Road

Hello Lovelies! Back today (finally) with a new project! I made a card today with loads of fun embellishements from Maya Road and gorgeous papers from 7dots Studio designed by the most talented DeeDee Catron.

I created a kind off masculine birthday card with the "Lost and Found" collection from 7dots Studio.


As you all know I do love my layers and this card isn't any different. I use disgarded chipboard pieces to get dimension and the possiblity to tuck things underneath my layers to create more interest. I've use Maya Road Journaling tags and kraft envelope as the base for my card. I also used stickers from 7dots Studio, buttons and lightbulb transparencies from Maya Road. The cute camera charm is also from Maya Road.

I'll be joining in these challenges with my card: 

 Thank you so much for stopping by my blog today! :) 

lørdag 21. november 2015

Yet another Christmas Card..

I'm deep in Christmas Card mode this month and I got a hold of the newest papers from Maja Design and I had to play with them.


I had great fun making this card, using the diecut paper from the Maja Design Collection - Home for the Holidays and added some die-cut trees and a doily.


The card is quite fun and has a exciting shape. It was a bit of a tounge twister to get the panles rignt, but I really like the way it turned out. The trees are from lea'bilities and the doily are from Prima. Flowers are Papirdesign. Post stamp are from North Star Stamps. All the metal charms and embellishments can you find at Korthobby.no


Inside the card you can put a chocolate, money or a gift card and write on the right side of the card. I've used a stamp from Northstar and the papers are Maja Design from a couple of different collection. The metal charm can you find at Korthobby.no


I'm joining in these challenges with my card: 


Thank you so much for stopping by my blog today! :) Have a fantastic creative saturday! :)