Viser innlegg med etiketten Gesso. Vis alle innlegg

onsdag 15. februar 2017

Mixed Media Altered Paintbrush - DT Scrapki-Wyzwaniowo

We are mid month and that means a new reveal over at the Scrapki-Wyzwaniowo challenge blog! This month is all about paintbrushes! It's such a cool theme and I had really fun making this project.


This is what I came up with for this challenge: 

I've altered a cheep paint brush using Finnabair's awesome gesso's and Prima's Colorblooms.. I also played with the IOD's molds and Finnabair's Art Supplies. 

I sprayed with the Colorblooms - Deep Teal and Brimstone. Added loads of Art Stones, flowers and different type of flowers. I also used some of the melange pebbels and Finnabiar nobs. I sprinkled some microbeads in black to add some deepth to the brush. 


I really loved this cross witch is a Relic and Artifacts from Sandra Evertson. Like I said in my last post, I've been using them more and more lately.. probably influenced by my good friend Heather Thompson and all the Muse girls.

I used a mould to make this piece. I used it when the clay was still wet so I could add it around the brush. A little pebble in the center was a perfect fit. I painted on top with the metallique paints - Ancient Coin.

Would you like to take part in the challenge? Please take a look at the Scrapki-Wyzwaniowo blog for challenge rules, info and prizes.

Thank you so much for stopping by my blog today. Would love to hear what you think! :)

tirsdag 14. februar 2017

Crescent Moon Dreamcatcher - Artists Live Ustream Show

Every month I'm up on the Artists Live Ustream Channel and I re-create a project in a Live free class. The show airs every monday at 20.00 CET. This time, I made a Crescent Moon Dreamcatcher using a whole range of Finnabair's mixed media projects.

Using an embroidery hop for my dreamcatcher circle and loads of ribbons, Sandra Evertson Relics to put together this 6" Dreamcatcher.

I used Finnabair's black gesso, white gesso, Soft matte gel, Art Stones and Mini Art Stones to make the insides of the dreamcatcher. Everything is colored with the Oil Pastels from Prima. Would you like to see who I made this, you can watch the recording of the show.


Remember this is just a recording of the show so there will be some interaction with the audience watching on the day it's recorded. 

I just love the Sandra Evertson Relics and Artifacts and have worked a bit with them these past months. I painted these with black gesso and added oil pastels to color and finished off with Viva Decor - Inka Gold - Old Silver. The ribbon is colored with Color Bloom - Deep Teal, Tea Stain and White Frost.


The moon is die-cutted out of the crescent moon and stars dies from Tim Holtz. Thank you so much for stopping by my blog today.. would love to hear what you think about my dreamcatcher. Have a great Valentine's Day! - Yasmin

tirsdag 29. november 2016

Finnabair Weekend - Class Project Part 3

Hello lovelies! It's time to share my third project for the Finnabair weekend at Bikuben the 11-13th of November. This class project was the first I made and we learned all about the use of sculpture medium in the "Verdigris" class.

For this class we made a shadowbox canvas.. I have to say that I wasn't really happy with the way mine turned out.. and I wasn't able to "fix" it in a way I would like it.. but I'm going to share it anyways. :)

So the kit was so filled to the brim with loads of lovelyness. All kinds of metals, fabric, lace and flowers. I added them to my frame and this is what I came up with.
I don't know why I do not like it that much but I do think it's because of the face. I didn't get it right I think. I like all my layers and the textures, and it was a fun project to make and of course you learn so much. You really can't see that spoon that we where suppose to use as a focal point. This piece is sprayed with Primary Elements and painted with gesso and metallique paints. 


I love the Finnabair Mechanicals. They are so easy alterable and they looked so good on this project.

You can see part of the spoon I used on my canvas. I have to say it was a fun class and I liked the project, I'm just not happy with my project. 

Thank you so much for stopping by my blog today :) 


fredag 18. november 2016

Finnabair weekend - Class project part 1

So the weekend of 11-13th of November I took a bunch of Finnabair classes and I enjoyed them so muuuch! I will share so photos from our classes and the project I made. I would like to stress out this is Finnabair's style and the classes are ABSOLUTLY amazing to take part in and you learn soo much. I will split my weekend into 4 seperate post so there will be 3 more like this.


I will start with the class that actually was my second class.. I joined the layers of dreams on Saturday morning. I love making layouts and I was really happy with my result. Usually I am a bit shy and scared to mess things up, but this time I just went with the flow. :) 


This is what I made of the class. I added a black frame to my project and it looks amazing and I can hang it on my wall now. :) 

The frame of course Prima and all the embellishments are also Prima. The photo I used I've used before on a layout, but I think it's just such a fun photo so I just had to use it. 

This rusted elements are sooo cool, I really like the look on them. We just a lot of the art stones as well and splatted with gesso and Colorarte Primary elements. 

Look at all my layers.. It's no way to put this in an album. We used loads of lace, papers and metal embellishment. We painted everything with gesso and misted primary elements on top. Then we added those rusted elements. 

The texture is amazing! We added art stones in both sizes and painted them into our project. I love the color palette with the purples and teals. 


I see that the photo I used comes out really blury in this photo. But it's really not. But you get to see the layers and all the details in the layout and of course all the splatteres we did. It was such a fun class to attend. If you have the chance to go and learn to use Finnabair projects I would highly recommend you doing so! :) 

Thank you so much for your visit today! :) 

mandag 9. mai 2016

Mixed Media Mini Album - DT Maya Road

Hello everyone! It's my day over at the Maya Road blog and this time I wanted to decorate a mini album cover and Maya Road has the best chipboard mini's ever. I also did a video tutorial on it :)


I've use loads of media on my mini album cover and loads of very pretty Maya Road flowers and other embellishments. I've also used Maya Road's doily dies.

 The album is a 5x5" Chipboard Album and comes in natural kraft. I've painted the whole album with white gesso and white crackle paint. Here's the video on how I made my album.


The crackle is gorgeous! I've use Finnabairs Crackle paste  and Lindy's Stamp Gang mist's. to color the crackles. I love the way they get highlighted with color.. 

I love this cute key from Maya Road. It's perfect on the spine of my album. The Felt roses are one of my favorite Maya Road flower. 

I'm entering my mini album in Lindy's stamp gang's moodboard challenge


These are the two product's I've used on my mini album: 

Thank you so much for stopping by my blog today. Would love to hear what you think :) 


fredag 25. mars 2016

Happy Layout - DT Flying Unicorn & Maya Road.

Hi all! Today I'm up on the Flying Unicorn blog with two projects today, but I'll be splitting that post into two seperate blogposts to prevent the post being so long, so today I'll be sharing a layout made with Maja Designs "Summer Crush" Collection featuring loads of Prima and Maya Road products. I also made a video tutorial to go with it. :)

This page had such happy colors so if found the title quite fitting for this page. 

I've used gesso in the background, but it doesn't show as well as I wanted I'm afraid. Splashed with colorbloom sprays and white dyluisons white linen mist. 

If you would like to see this layout step-by-step. Please take a look at my video tutorial:


The title is a chipboard piece from 13@rts. The little hanger and paper clip piece is from Maya Road. Love those. The little felt flowers are also Maya Road. The Pearls are from Prima. 

The dimensional crystals from Art Anthology gives a lot of interest to the page. 

Thank you so much for stopping by my blog today and make sure to visit tomorrow for a new project and video tutorial. 


fredag 8. januar 2016

Canvas Video Tutorial for the Flying Unicorns

Today is a good day. Well.. sort of.. It's my birthday and I'm getting WAY to old.. Hahaha.. I do have a video tutorial to share today. Made this for the Flying Unicorn using the lovely January KOM.. I do believe there's still kits avaliable, so grab your kits while you can before the sell out. You can find the January kits here.

I've used the mixed media kit, the add on flower kit and some bits and pieces from the two others. And here are the finished canvas.
I used a black canvas, misted with paints from 13@rts and added embellishments from Prima. All found in the kit. 

If you'd like to see how I made my Canvas please take a look at my video below. 


A Close up of my white brushing, and some of the details with the microbeads, glass beads and glass glitter. You can also see some of the stencil details in the background. 


I have to say I'm quite happy with my canvas and I hope you liked my tutorial. 

Would absolutly love a comment on my canvas! Thank you so much for stopping by me today!


søndag 3. januar 2016

Made with Love Tag - Scrapberry's Challenge

In the first of the month it's always loads of new challenges and loads of post, today I'd like to share with you the new challenge at Scrapberry's.

This months challenge is to make a tag. You can make the size you'd like but you do have to use at least 50% Scrapberry's product. :) I've used a fairly new collection called Photo Archive. 

I added loads of embellishements, papers and clustered it on my tag. All the papers are from the same collection. The large center flower and the cork clock is Scrapberry's. The same goes for the pretty Lily flower and the pearls. I used a dies and die-cutted into some of the papers form the collection. 


I splashed loads of Dylusions White Linen spray on top with a brush. And dry brushed th flowers with gesso.

Hope you got inspired to join in the challenge as well. You can find all the details you need here, including inspiration from the other designteam members.

Thank you so much your visit today! :)


tirsdag 29. desember 2015

More Christmas Cards :)

Today I would like to share another Christmas card. As I was saying in my last post I did teach loads of christmas card classes in October trough out December, so this card was one of those cards I taught :)

I've used loads of Papirdesign goodies on my card along with some Tim Holtz dies. All papers, flowers and the "Julehilsen" is from Papirdesign.

I love to fold my cards this way.. It makes a fantastic card and you can use a whole sheet of paper to fold it or you can just use the size you have. It just needs to be square. :) I've used a Tim Holtz die to die cut the skates and the holly leaves. Decorated with flowers from Papirdesign and added loads of microbeads and mica flakes to create a snow effect.


I'm joing in these challenges with my Christmas Card: 


Thank you so much for stopping by my blog today! :) :) 

onsdag 16. desember 2015

Mixed Media Canvas - Maya Road

Hello my sweets! Today I want to share with you a piece I made for Maya Road. This canvas is actually going to CHA (yeeey!! Do wish I was going too though.. ) It was a requested project for something by Maya Road.. Can't really remember what they needed it for. Anyways.. let's take a look at it :) 


I love this picture of my boys.. I took this when we where in Cyprus this summer.. My fav photo I think... :) There's loads of Maya Product on my canvas including their new awesome dies! :)


The canvas is 8x6" I think.. or maybe it's an 8x10..  don't really remember witch size I made it in.. I used a couple of stencils for the background with some modeling paste. Added my "man" witch actually is a taken from a mini album that looks like a man.. It's awesome! Added 3 scallop shaped and sprayed loads with color bloom from Prima. Splatted some gesso on top to make a starry night look to it. :) Die-cutted loooads of words... :) Those dies are amazing! 

I really love the font of these word dies! Worked perfectly for my canvas :) Thank you so much for stopping by my blog today.. I'd love a comment on my canvas. Leave me one and I'd leave one back..

fredag 11. desember 2015

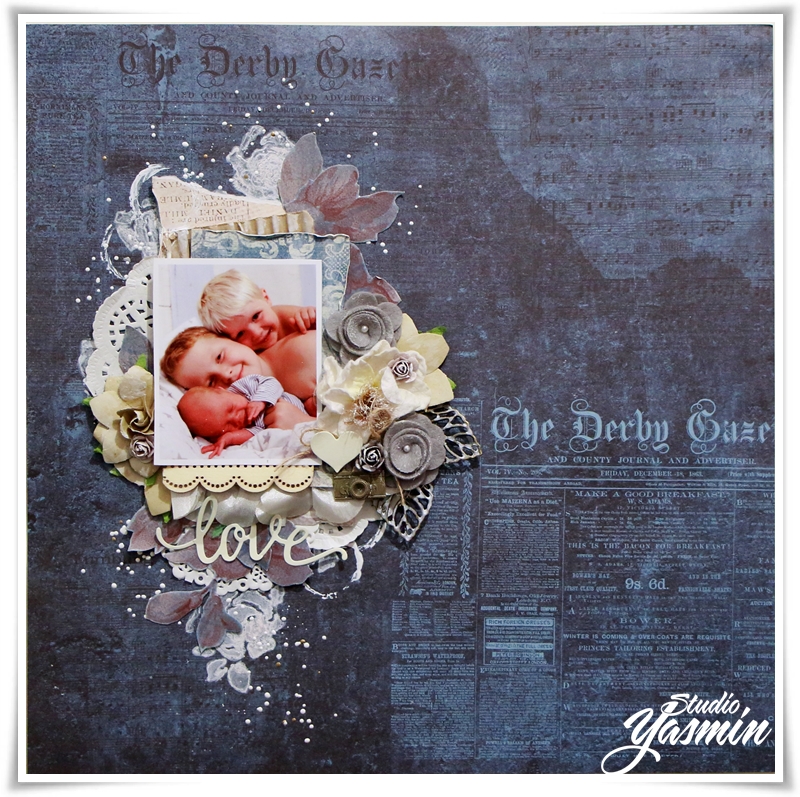
Love Layout - DT Maya Road

Hello to you! December is crazy busy for me this year.. I always say every year that next year, I'm going to get everything done in November so we don't have to stress about anything and just enjoy the month.. but Nooo.. always ends of sooo crazy.. Anyways. It's my day over at the Maya Road blog and I have a layout to share today!

I've played with awesome embellishments and dies from Maya Road and the December Kit of the  Month from the Flying Unicorn Store. Perfect together! :)

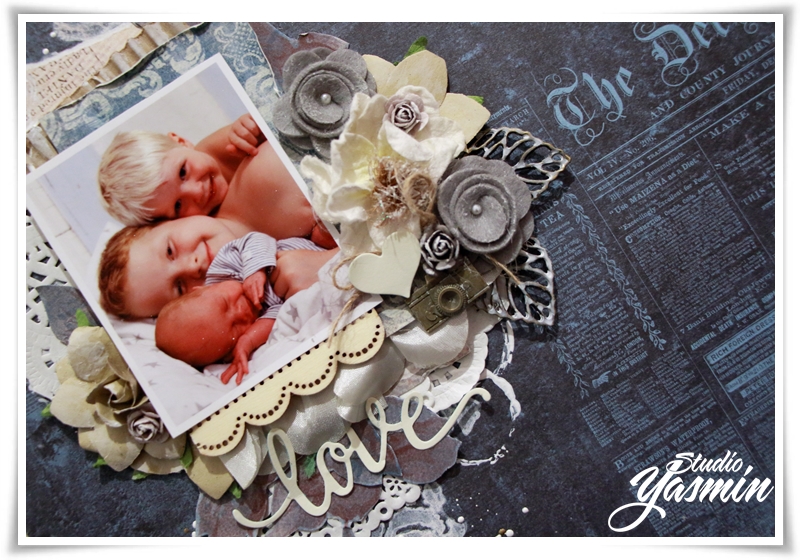
Taking pictures here is horrible, it's dark all day long. The papers are from Riddersholm Design and are quite fantastic. Good sturdy quality. The flowers are partly Maya Road, Petaloo and Prima. The felt ones are from Maya Road. The leafs are metal trinkets I've painted with gesso. Added a camera charm and die-cutted out the word "love" from a Maya Road steel die..

If you want to check out the kits for the flying Unicorn store please check out here. They are truly awesome. Always fantasticly put together.

Thank you for stopping by me today. Leave me a comment and I'll leave one back. :)