En ny dag for å vise frem serien min med bokmerker laget til lærerene på skolen til ungene. Jeg prøvde å lage de forskjellige, slik at de ble unike til mottakerene.
På dette bokmerket brukte jeg masse fine ting fra Tim Holtz.
Det var forbausende enkelt å bruke måne masken fra Tim Holtz. Inni pakken får du 3 måner i 3 forskjellige størrelser. Brukte en blending tool til å få blandet farge og vann til flekker :)
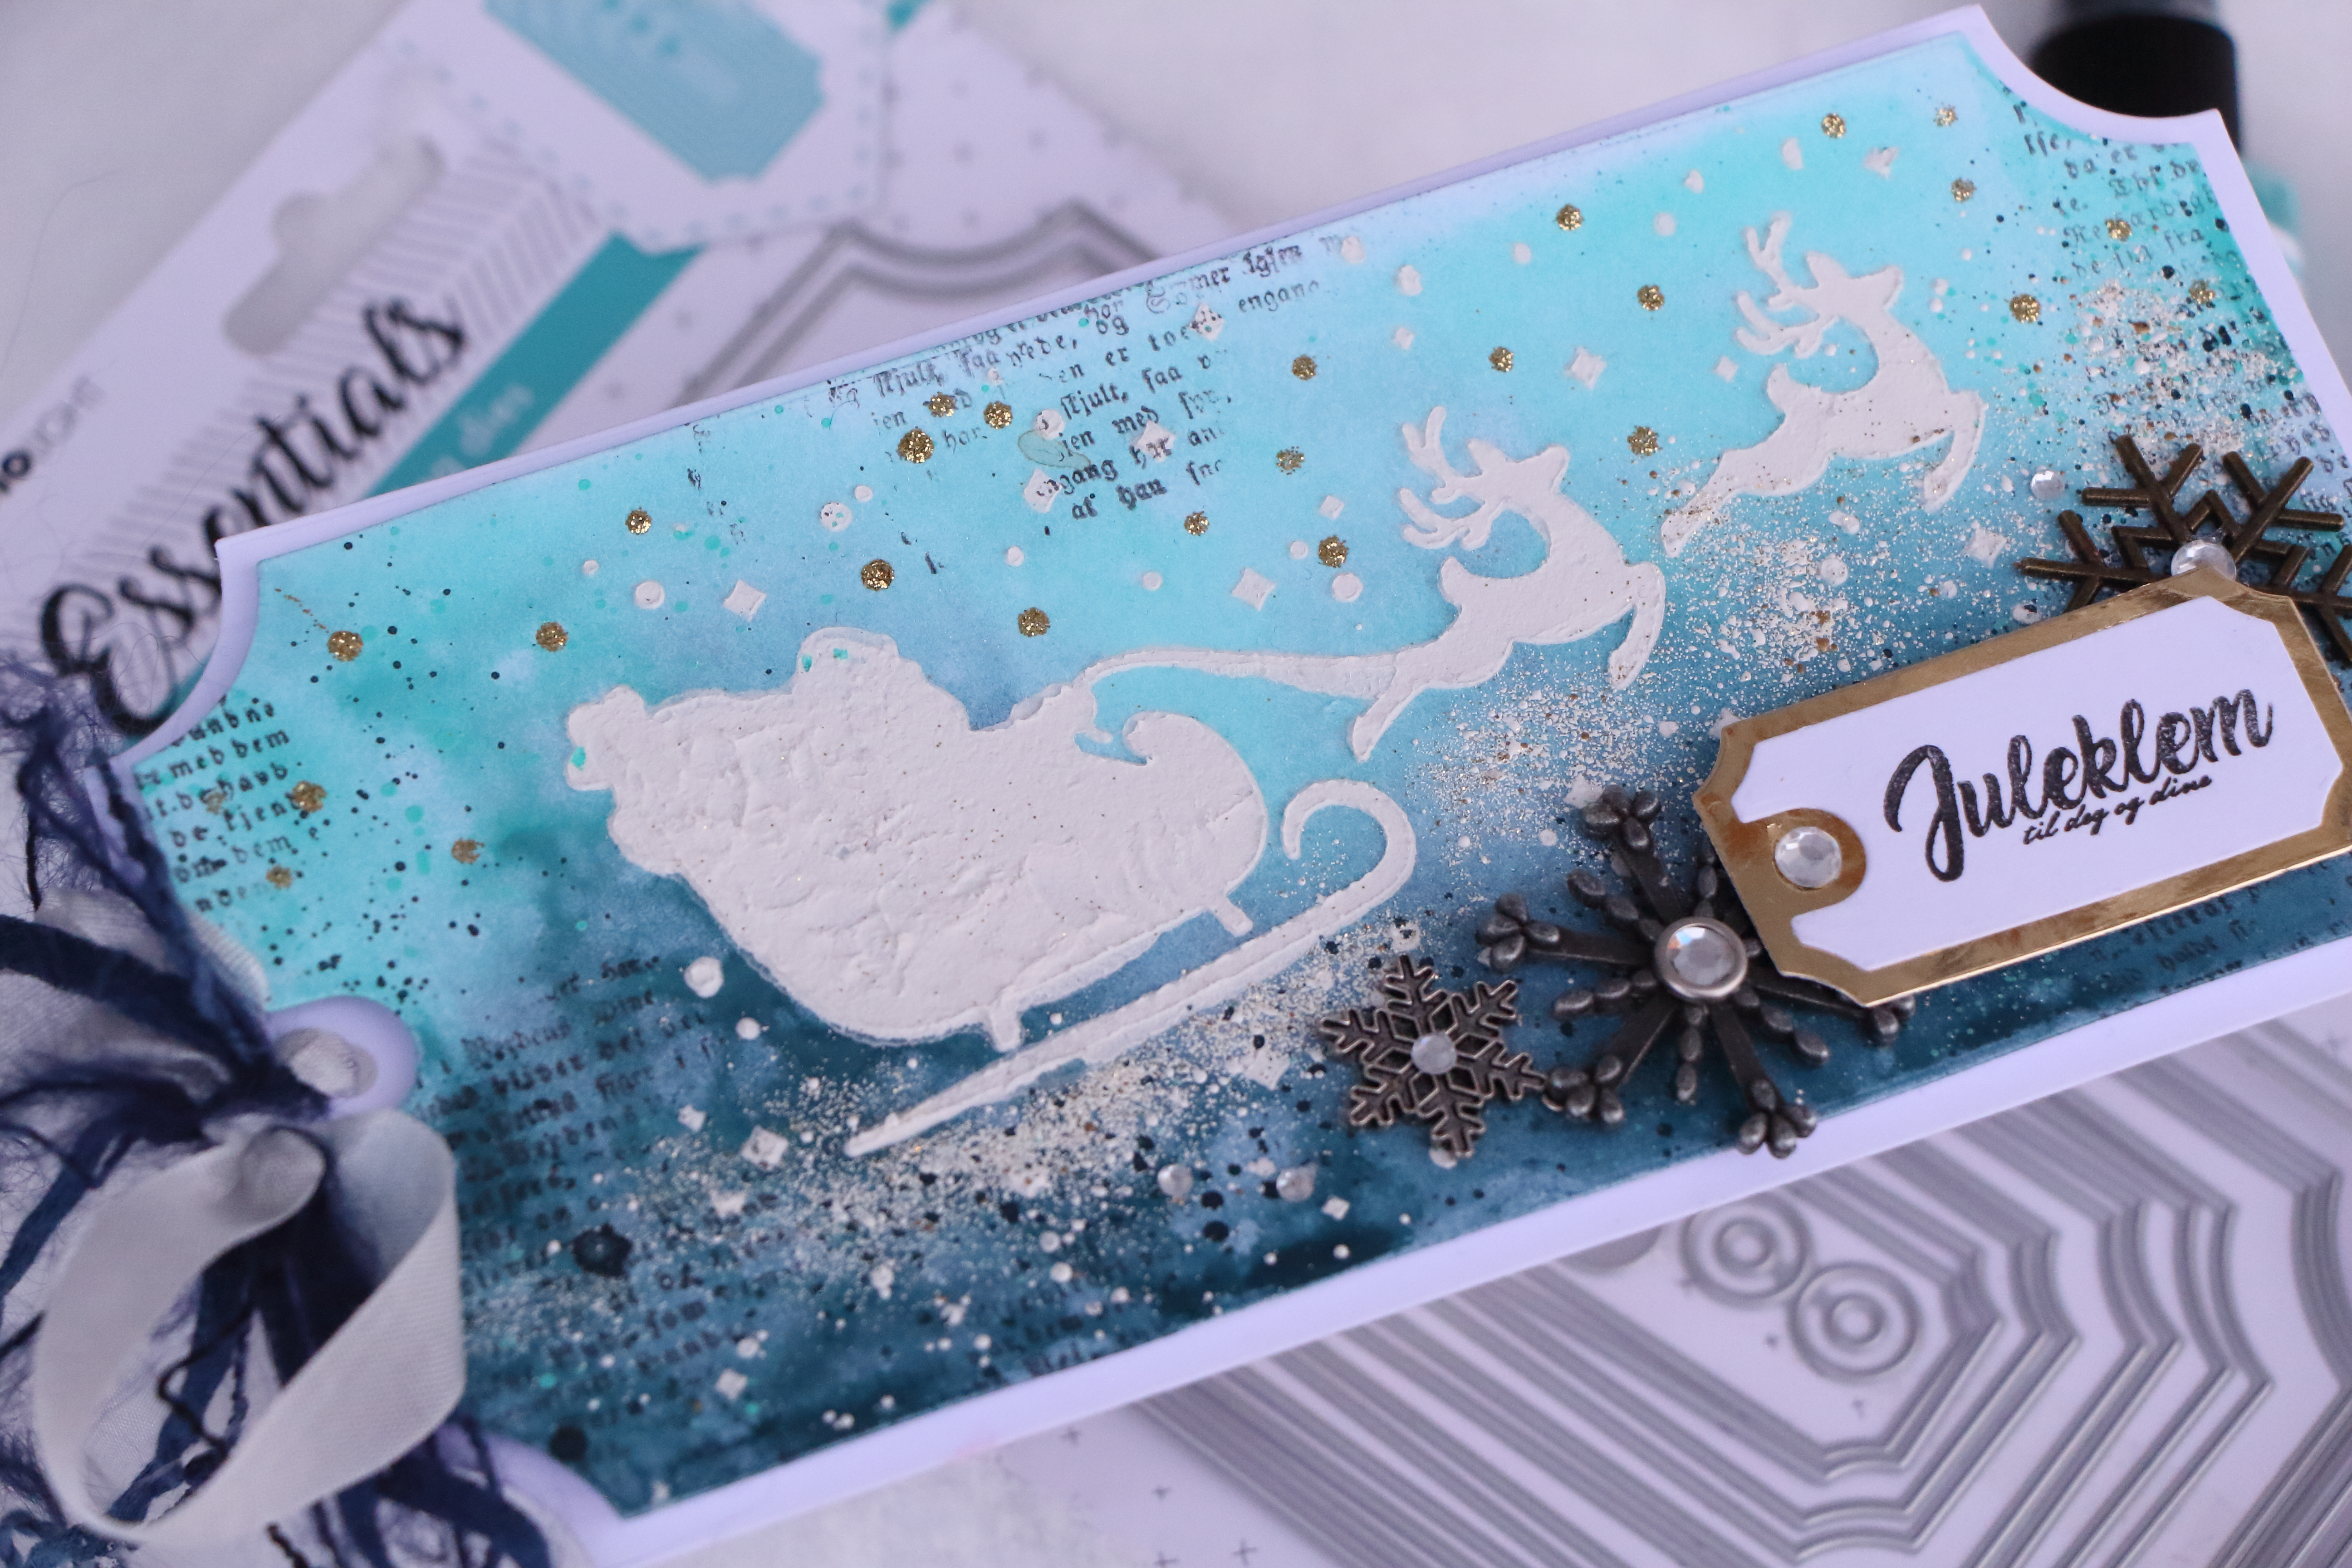
Hei! Lenge siden jeg har postet noe på bloggen, men er tilbake i dag med litt mixed media jul! Joda, man kan fint lage herlige julekort i mixed media stil. Med både stensiler, spray og litt medium kommer man langt. Jeg har laget en stor juletag jeg har lyst til å dele med dere i dag.
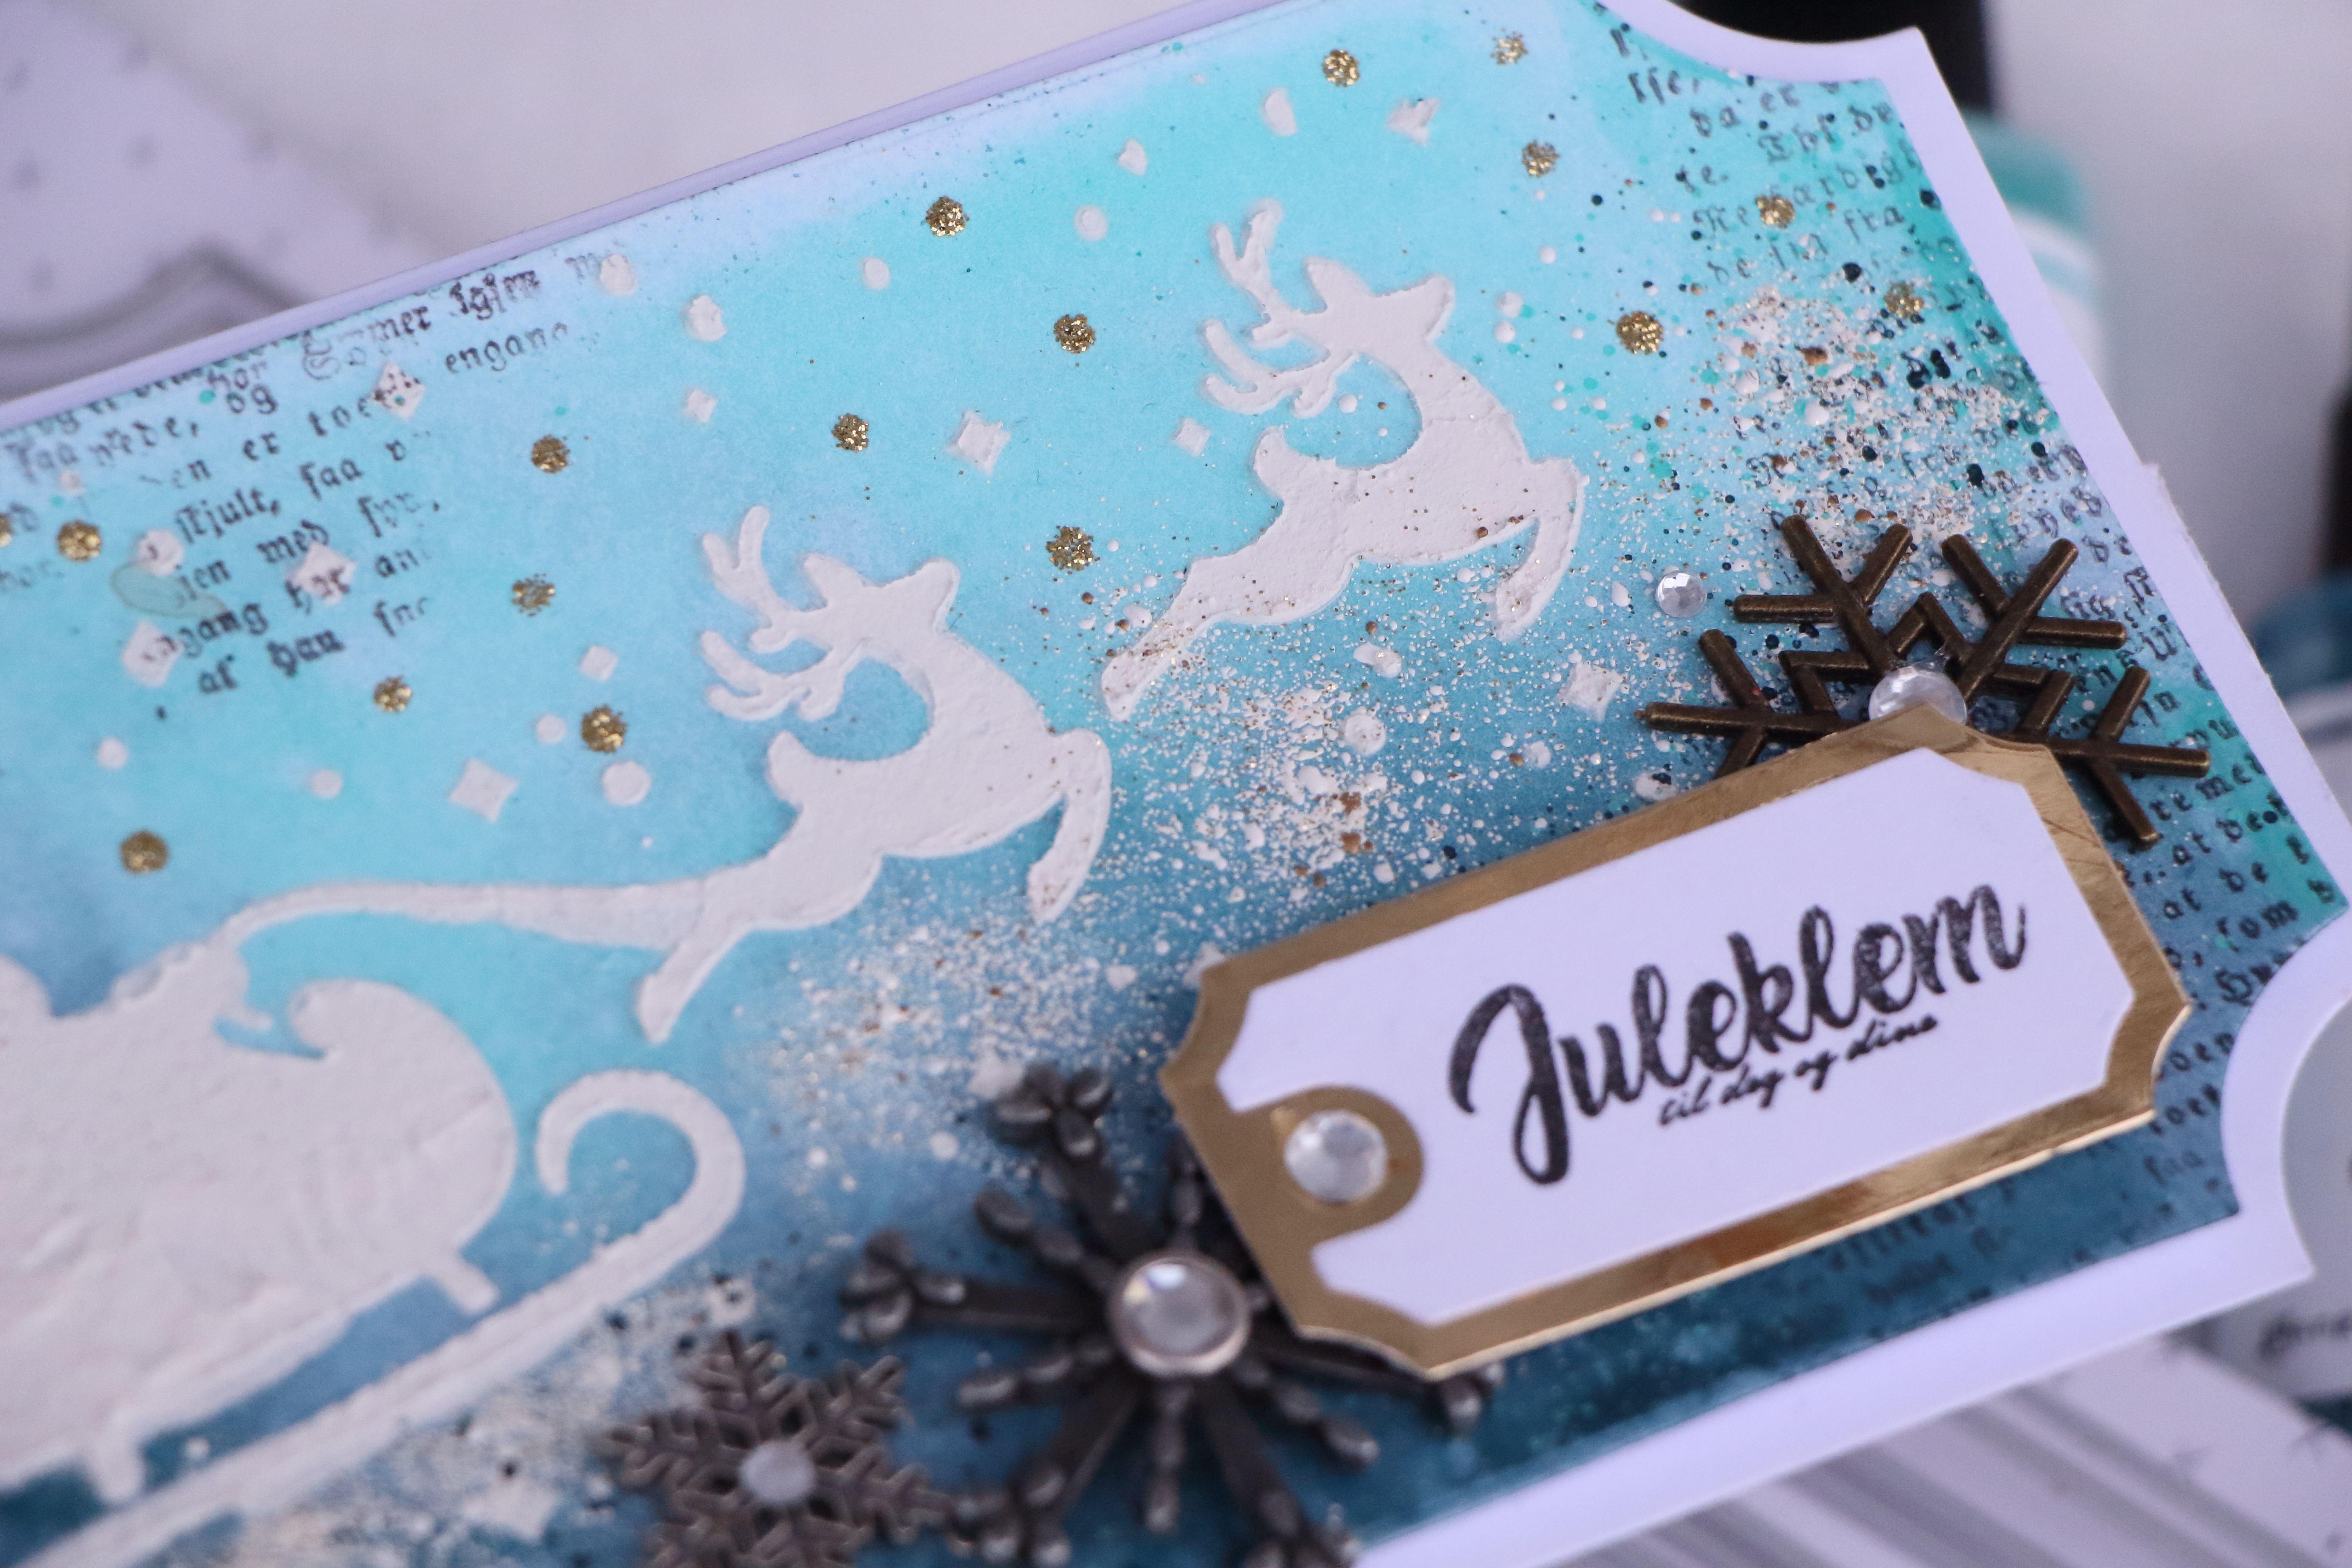
Jeg har sprayet med gloss spray fra Dina Wakley i to forskjellige blå nyanser, stemplet med et tekst stempel og en stensil med julenisse sleden. Har du lyst til å se hvordan jeg lagde denne tag'n her? Ta en titt på denne videoen:
Disse er fasinerende raske å lage, og kan enkelt flere av samtidig. Husk å vask stensilen godt etter bruk!
Heellloo!! Finally something is happening on my blog, twice in a week! That's not to shabby. Today I have a Steampunkish card to share with you. I made this card AGES ago for Maya Roads CHA. But I taught today was a good day to share it. I haven't shown it anywhere else before today.
I used papers from Fleur Design on this card, love those papers. It hurt a bit to cut in them. Hahaha.. I used my sewing machine and stitched around the egdes. Added some layers with Maya Road tags and used modeling paste on top.
I made a fun face by using Maya Road glasses and moustache on top of the lightbulb. I also added a button and lightbulb transparency. On top I splashed abit with glimmer glam - stiletto from Tattered Angels. On top of the glasses and moustache I added a bit of Inka Gold - Old Silver.
Hello everyone, back today to share one of my projects for Flying Unicorn using the July Kit of the Month. It was filled to the brim with the new papers from the newest company "49 and Market" and I got to play with them!
The papers are really good quality, thick and easy to use with media. Allthough I didn't use loads of media on this, but a little misting and splashing. Can not make a layout without! :)
I used a large stencil and the Tea Stain Color Bloom that came in the kit. I also splashed with Boysenberry Color Bloom and of course White Linen Dylusions. I added some stamping and string. I die-cuted the frame from a Tim Holtz Sizzix dies. The Chipboard came in the kit.
I used the flowers that came in the kit and added some from my own stash. I dry brushed them with some gesso and added beads and mica flakes as finishing touches.
I fuzzy cut the butterfly from some of the papers from "49 and Market", the title is from 7dots Studio. The buttons came in the kit to.
Hello lovelies! Yesterday I was up on the Flying Unicorn with my today's post and I have a Mixed Media birdhouse with a video tutorial to share. This birdhouse was the off the page project in the June kit. A new kit is just around the corner and it's fantastic! It's filled to the brim with the awesome new papers from 49th and Market. Ok, but first the birdhouse.
I have to say that this is the OTP project I had the most fun with (OTP stands for "Off the Page") I've played with so many mediums on this like gesso, crackle paint, Lindy's Stamp Gang mists, modeling paste and metallique paints.
Used a ton of embellishements on this, loads of Prima flowers, embellishements, micro beads and mica flakes. If you would like to see the creative process on how to make this project, here is a video tutorial.
The video is a bit longer than I usually make, but I hope you'll watch it anyways. :)
The lovely flower are from Prima and I've added som string and an old curtain for more texture. White brushed the flowers with white gesso and added som micro beads and mica flakes as finishing toutches.
The bird actually is from Prima as is the key aswell. The little bird came with the new birdcage Prima came out with CHA 2016. I thought the bird was perfect for this project.
I'm joining in these challenges with my birdhouse:
Hello!! It's too long since my last post but today I'm up on the Maya Road and Scrapberry's blog with a vintage layout.
This is my grandmother's siblings and she's the one with her head turned.. Anyways, used loads of Scrapberry's products and Maya Road embellishments. I also played with some mediums on it, lots of stamping and splashing.
I love resin frames and Scrapberry's as loads to offer. I also added the metal plaque with the word "Remember". The "Photo Archive" collection from Scrapberry's is perfect for Vintage layouts like this one.
I fuzzy cut some images out of some of the papers in the collection. The Resin flowers and rhinestones are so gorgeous. I love them.
The key and felt rose is from Maya Road the same with the feather you just can spot on the photo. I painted it with Finnabair's Metallique paint.
Thank you so much for stopping by my blog today! Be sure to visit the Maya Road and Scrapberry's blog for more inspiration.
Hi all! I have to say I'm so lucky to get to be a Prima Educator and in a couple of weeks I will teach my first Prima Classes as well. I'm up on the Prima Blog with a layout made after this months Prima Build-a-page Sketch. So honored!
Here's this months gorgeous sketch made by Riikka Kovasin:
Here's my take on the sketch:
I've played with LOADS of the new Prima stuff that's just come out to stores, The Papes are Vintage Emporium, and so is the flowers as well. I've used the new Finnabair Barn Stars (LOVE THEM) and used a Prima steel die to make a doily.
Would you like to see how I made this? I did a tutorial video as well:
The background I've used two diffrent stencils, stamps and watercolor confections. The title is from 13@rts. Loads of micro beads and splashing with Color blooms.
I have too laugh.. This photo of Finnley is priceless, he has stolen the powdered vanilla sugar and of course tasted it. He is a little rascal always roaming through my kithen drawers. Thank God for ducktape!
Thank you so much for stopping by my blog today, and make sure to stop by the Prima blog to join in the BAP challenge and see more inspiration! :)
Hello my sweets! Yesterday was reveal day for the new Scrapki-Wyzwaniowo Challenge. Every first of the month there's a fabolus challenge and loads of inspiration from the designteam. Today I would love to share my take on it with you! :)
This months challenge is all about those masculine projects.
This is my take on the challenge.
I've used papers from 7dots Studio - Designed by the lovely Finnabair. I've used loads of media on the background, Modeling paste, Colorbloom and the new oil pastels from Prima. I also splatted some glimmer glam from tattered angels on it
I die-cuted out stars from a Tim Holtz Sizzix dies and also added some metal stars from Korthobby.no along with elements from the Lost and Found collection from 7 dots Studio. The mustache is also from Korthobby.no.
The wire string in the background is also from Prima along with the glass and micro beads. I also did some stamping in the background. I really enjoyed myself making this layout of my hubby. :)
Ok.. let's take a look at this months prizes:
European manufacturer, that create scrapbooking lines consist of papers, stickers, die-cut elements, stamps, stencils and chipboard. Creative and passionate crew works to bring you inspiring products, that will make your creativity blooming.
UmWowStudio is a family owned business out of Las Vegas, NV. The production is specialized in laser cut chipboard embellishments and masks for the paper crafting and mixed media community.
Amazing prizes from our sponsors. Would you like to play along? Please head on over to the Scrapki-Wyzzwaniowo blog. Thank you so much for stopping by me today!
I had the best of times creating for the Flying Unicorn January Kit. I want to show you an Altered Bottle I made with the Mixed-Media Kit and Add-on Flower Kit.
Let's take a look at the kit I used:
Flower add - on :)
Mixed Media Kit
and here is my bottle:
I've also used some bits and pieces from the Main Kit. Painted my bottle with white gesso at first. Added texture with the stencil in the kit and modeling paste. Covered with gesso again and glued on a piece of old curtain and wire string.
I misted with the mists in the kit from 13@rts - Chalk Dirty Pink, Pastel Dirty Pink, Pastel Black and Chalk Grey. After finishing making the texture of the bottle the way I liked it, I glued on the embellishements I liked.
I dry brushed gesso on top of the flowers and added micro beads in silver and pink coloured flakes also from 13@rts. I think I got those in a previous kit.
The word is a 13@rts Chipboard and I have to say.. I utterly love them.. They are large enough to fit on a scrapbook page, and actually quite durable. Awesome addition to the Main Kit.
I hope you enjoyed my little bottle. Thank you so much for stopping by my blog. I would love a comment and I will comment back.
Hello my sweets! Today I want to share with you a piece I made for Maya Road. This canvas is actually going to CHA (yeeey!! Do wish I was going too though.. ) It was a requested project for something by Maya Road.. Can't really remember what they needed it for. Anyways.. let's take a look at it :)
I love this picture of my boys.. I took this when we where in Cyprus this summer.. My fav photo I think... :) There's loads of Maya Product on my canvas including their new awesome dies! :)
The canvas is 8x6" I think.. or maybe it's an 8x10.. don't really remember witch size I made it in.. I used a couple of stencils for the background with some modeling paste. Added my "man" witch actually is a taken from a mini album that looks like a man.. It's awesome! Added 3 scallop shaped and sprayed loads with color bloom from Prima. Splatted some gesso on top to make a starry night look to it. :) Die-cutted loooads of words... :) Those dies are amazing!
I really love the font of these word dies! Worked perfectly for my canvas :) Thank you so much for stopping by my blog today.. I'd love a comment on my canvas. Leave me one and I'd leave one back..